EN
EN
 AR
AR BG
BG HR
HR CS
CS DA
DA NL
NL FI
FI FR
FR DE
DE EL
EL IT
IT JA
JA KO
KO PL
PL PT
PT ES
ES SV
SV ID
ID SR
SR ET
ET HU
HU TR
TR GA
GA XH
XH

Good Design Starts Before the Mold
The most expensive mistake in rotomolding is not a bad mold—it is a design that fights the process. Unlike injection molding, where high pressure can force material into almost any geometry, rotomolding relies on gravity, tumbling, and heat transfer. The plastic powder has to flow, coat, and fuse inside a rotating cavity. If your geometry traps powder, blocks air flow, or creates uneven heat zones, no amount of process tuning will fix it.
These seven rules are distilled from decades of tooling experience. Follow them, and you will cut tooling revisions, shorten development time, and avoid parts that look good in CAD but fail on the shop floor.
Rule 1: Radius Everything
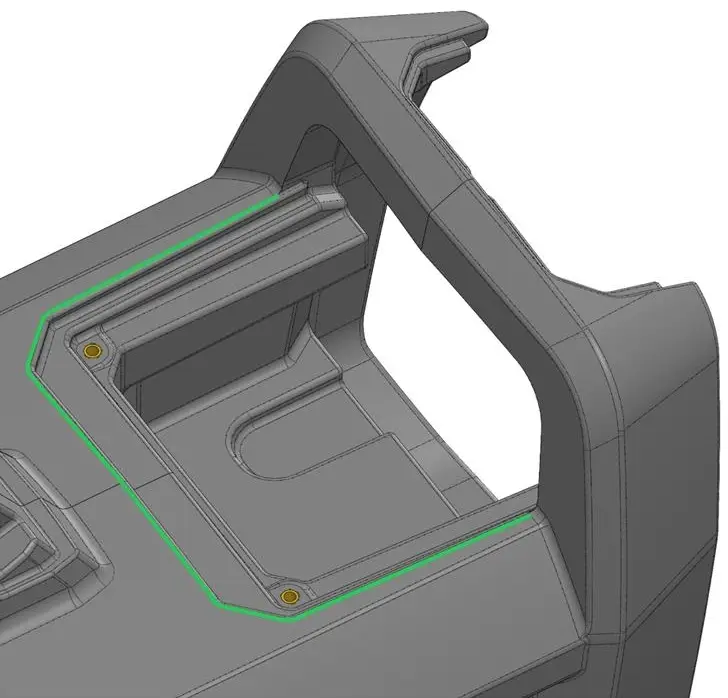
Sharp corners are the enemy of rotomolding. Inside corners trap powder and create bridging—where material spans across a corner instead of filling it. Outside corners pull thin because the mold heats faster there and material flows away. The guideline: Inside radius ≥ 1× nominal wall thickness. Outside radius ≥ 3× nominal wall thickness. For structural corners under load, go larger.
Rule 2: Draft Angles Are Not Optional
Injection molding can get away with 0.5° draft on polished surfaces. Rotomolding cannot. Because the part shrinks onto the mold core during cooling, you need enough draft to allow clean demolding without damaging the part or the mold. Minimum draft: 3° on textured surfaces, 2° on smooth surfaces. For deep draws (depth > 2× width), push to 5° or more.
Rule 3: Avoid Deep, Narrow Channels
Rotomolding fills cavities by tumbling powder across the mold surface. Deep, narrow channels (think ribs with depth > 3× width) create two problems: powder cannot flow into the bottom, and heat cannot reach the center of the channel fast enough for proper fusion. The guideline: Rib width ≥ 5× nominal wall thickness. Depth-to-width ratio ≤ 3:1. If you need structural stiffness, use wider ribs or hollow box sections instead of deep narrow ribs.
Rule 4: Plan for Shrinkage
Polyethylene shrinks 1.5–3% as it cools from molding temperature to ambient. Cross-linked PE shrinks slightly less. Nylon shrinks more. Every dimension on your part drawing will be smaller than the mold cavity—and the shrinkage is not perfectly uniform. Work with your mold maker to apply the correct shrinkage factor for your material. Expect ±0.5% variation across complex geometries.
Rule 5: Keep Wall Thickness Transitions Gradual
Rotomolding handles varying wall thickness better than any other plastic process—but the transitions matter. An abrupt step from 3 mm to 8 mm creates a heat sink on the thick side and a hot spot on the thin side. The result is uneven cooling, sink marks, and warpage. Gradual transitions over at least 3× the thickness difference.
Rule 6: Use Inserts Wisely
Threaded metal inserts, bushings, and mounting plates can be molded into rotomolded parts—but they require careful planning. Best practices: Place inserts where they are easy to load and unload; preheat large metal inserts to reduce thermal shock; design a mechanical lock (undercut or knurling) to prevent pull-out; allow for differential thermal expansion between metal and plastic.

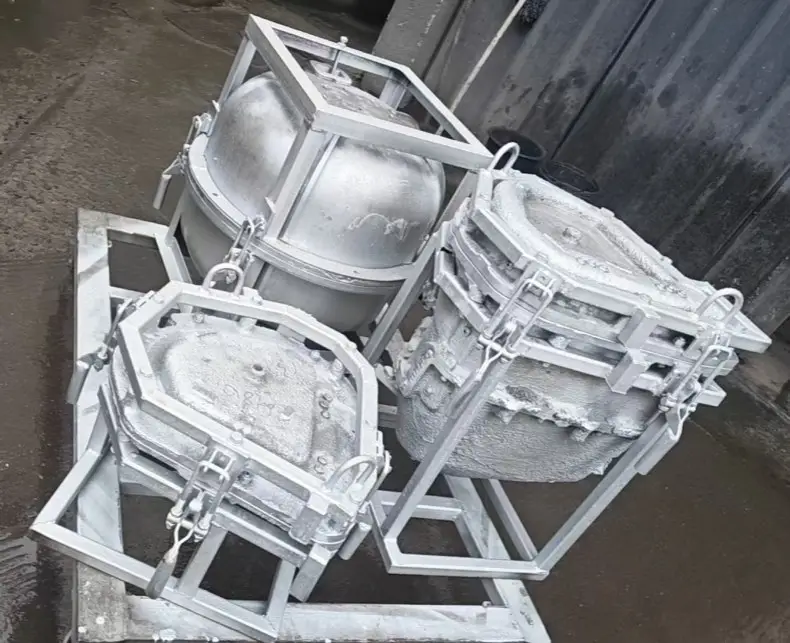
We are professional rotomolding mold and products